On Windows 10, you can uninstall the Windows Subsystem for Linux 2 (WSL2) when you no longer need to use the integration, and in this guide, you’ll learn how to complete the task. WSL2 is the second version of the integration that Microsoft has built to run Linux on Windows 10 using a lightweight virtual machine instead of a direct translation between Linux and Windows available with the first version.
As a result of this change, you now get a real Linux kernel with a solution that improves performance and app compatibility while maintaining the same experience as WSL1. (See also how to install WSL2.)
Although the ability to run Linux on Windows 10 is a useful feature for developers and users who need access to both operating systems, it might come the time when you no longer need the feature, or you may need to reset it if you’re having problems.
Whatever the reason, you can always remove WSL2 by uninstalling all the components, or you can reset distros individually if they’re causing issues.
In this guide, you will learn the steps to completely remove the WSL2 integration on Windows 10.
Uninstall WSL2 on Windows 10
The uninstall process of the Windows Subsystem for Linux 2 requires multiple steps, including removing the distro, kernel update, and other components.
Step one: Uninstall Linux distros from WSL2
To uninstall a distro of Linux, use these steps:
- Open Settings on Windows 10.
- Click on Apps.
- Click on Apps & features.
- Select the distribution of Linux and click the Uninstall button.

Uninstall Linux distro on WSL2 - Click the Uninstall button again.
Once you complete the steps, you may need to repeat the steps to continue removing additional distros as needed.
Step two: Uninstall Windows Subsystem for Linux update
To uninstall the WSL 2 Linux kernel update, use these steps:
- Open Settings.
- Click on Apps.
- Click on Apps & features.
- Select the Windows Subsystem for Linux update item and click the Uninstall button.

Uninstall WSL2 kernel update - Click the Uninstall button again.
After you complete the steps, you can proceed to remove the remaining components.
Step three: Uninstall WSL2 components
To disable the Windows Subsystem for Linux components, use these steps:
- Open Settings.
- Click on Apps.
- Click on Apps & features.
- Under the “Related settings” section, click the Programs and Features option from the right side.

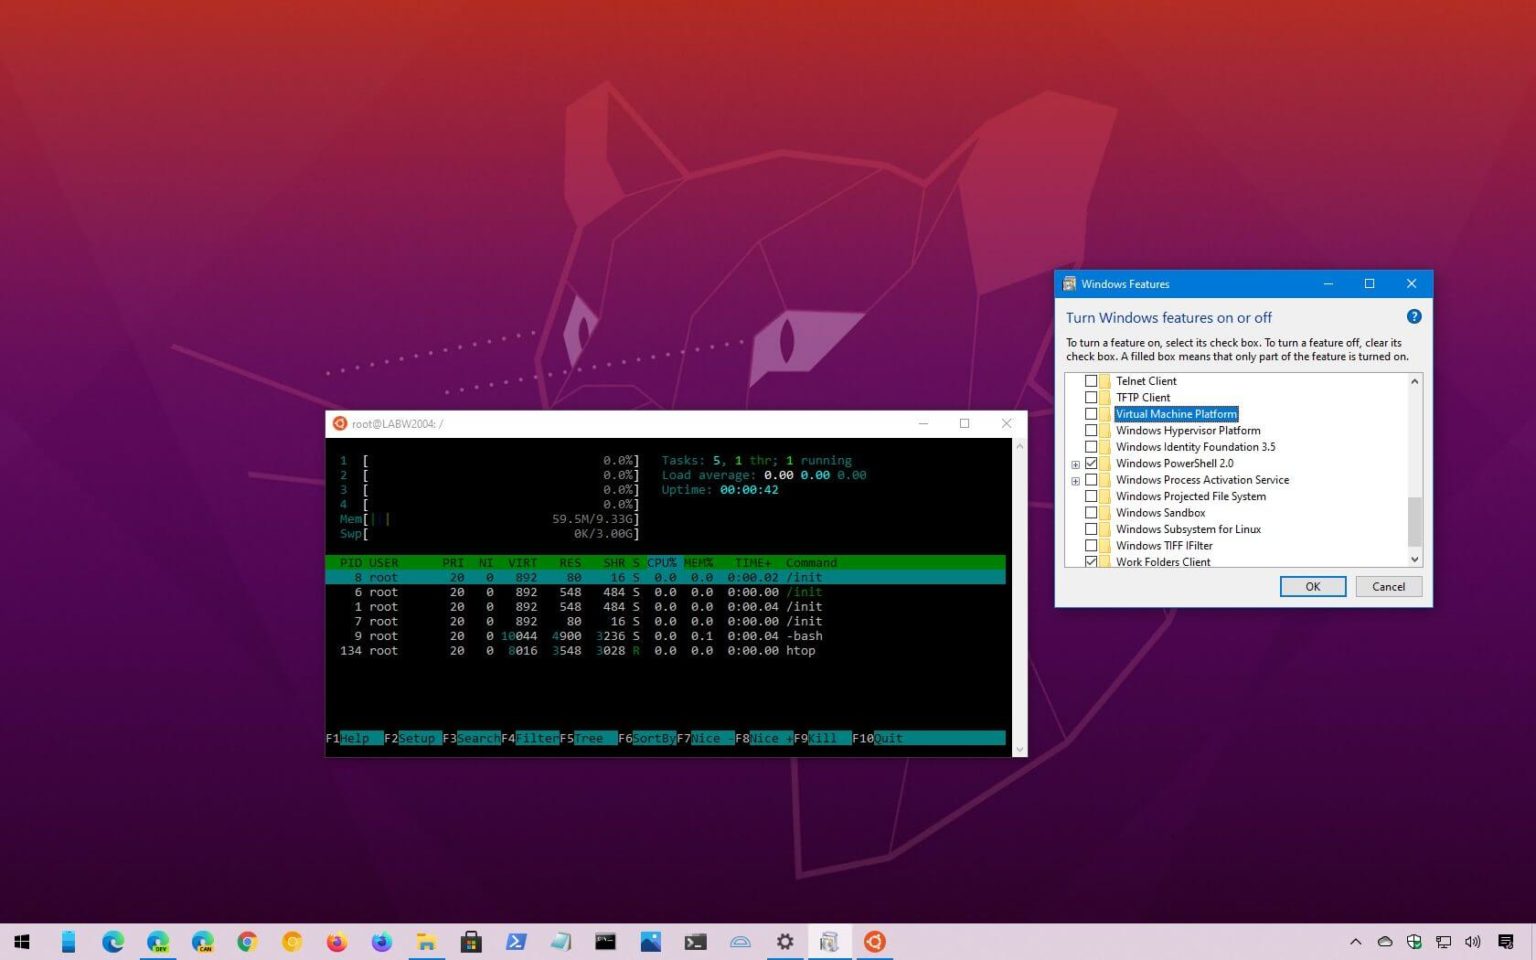
Programs and features option - Click the Turn Windows features on or off option.
- Clear the Virtual Machine Platform option.
- Clear the Windows Subsystem for Linux option.

Windows 10 uninstall WSL2 - Click the OK button.
- Click the Restart now button.
Once you complete the steps, the Windows Subsystem for Linux will be completely uninstalled from your computer.
If you change your mind, you can always set up the environment again with these instructions. If you are running Windows 10 build 20246 and later, you can use the new method to set up WSL2.